


care instructions
CrossPeak 2
Hyperlite Mountain Gear is not about bells and whistles, nonessential features, or the latest trending colors. We manufacture stripped down, high performance gear that’s been dialed in to meet, in as minimalist a manner as possible, the exacting requirements of the people who use it.
OUTSTANDING OUTSIDE
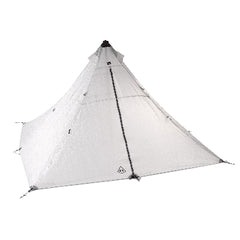
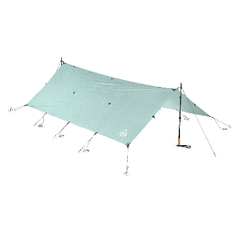
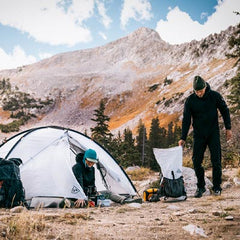
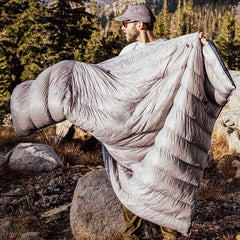
The freestanding, fully enclosed CrossPeak 2 is our take on this popular, tried-and-true tent design that strikes the optimal balance of weight, durability, waterproof protection, and space. It quickly pitches on rocky, root-filled terrain, tent platforms, or any time a smaller footprint just makes life easier. Made with Dyneema Composite Fabrics, it offers superior waterproof protection in feisty weather, and adjustable ventilation at both ends helps control airflow and reduce condensation for added comfort–just two of the many features that make the CrossPeak 2 outstanding outside.
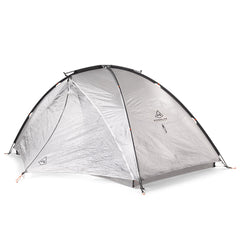
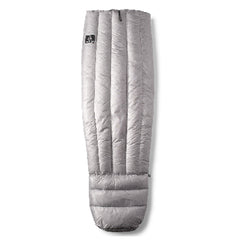
A. CrossPeak 2 Tent
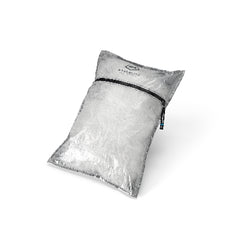
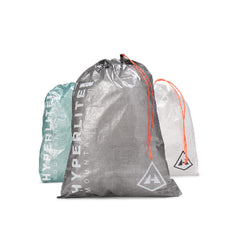
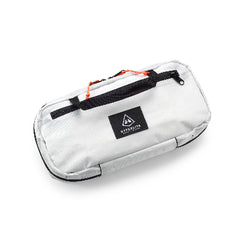
B. CrossPeak 2 Stuff Sack
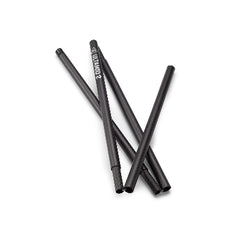
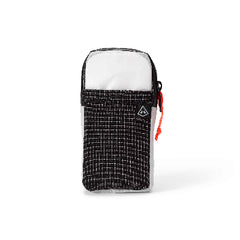
C. CrossPeak 2 Pole Bag
Materials: DCF5, DCF10, NoSeeUmMesh
Weight: 34 oz
Capacity : 2 people
Packed Dimensions:
- Shelter: 10"x7"x7"
- Poles: 14.5"x2.25"x2.25"
Vestibule Area: 7.26 sq ft x 2
Insert Area: 28.4 sq ft
Width: 48" (head) - 45" (foot)
Length: 88"
Height: 42"
Made In: Mexico

CrossPeak 2 Setup Instructions
Make sure campsite is clear from sticks, rocks, or other sharp pointed objects.
- Unfold the tent and lay it out flat with the vestibule doors.
- Layout the two main (long) poles on the ground behind you, while making sure that they are not obstructed by or wedged into any objects (trees, rocks) in the area you’re setting up. (If the area you are in is too confined, separate the poles before inserting them in the pole sleeves, reconnecting them when you have the room to do so.)
- Begin to insert the poles into the pole sleeves at the “head end” of the tent, indicated by the reflective binding where the pole sleeves start.
- Insert the first pole through the pole sleeve. At the tent peak crossing, make sure to match the reflective binding to the other reflective binding so the pole continues onward to the correct end on the side opposite of the one you started in.
- Repeat the process through the other side for the second pole.
- Insert the pole ends into the four grommets at each corner of the tent. The tent will begin to take form.
- Insert the peak cross pole through the peak pole sleeves. At the middle, the cross pole rests above the two other poles. Once the pole is through both sleeves, insert the ends into the peak sleeve grommets.
- At the “head end” (where you first inserted the two long poles), put your fingers through the loops of the ladder lock adjusters that connect the grommets to the tent corners, and pull them downward to tighten up the pitch.
- Repeat this process on the other side of the “head end.”
- Use the ladder lock adjuster at the end of the peak pole sleeves to pull downward and tighten the pitch at the top of the tent.
- Stake out the four corners at a 45 degree angle using the orange guyline loops.
- With the vestibule doors zipped and closed, stake out the vestibule doors using their orange guyline loops. Do not overtighten the guy lines – only snug them enough so as not to add stress to the zipper.
TAKING DOWN THE CROSSPEAK 2
- Remove all of the stakes at the corners and the vestibule doors.
- Loosen the two ladder lock adjusters near the grommets at the “head end” of the tent and at the end of the cross pole grommet.
- Detach the (short) centerpole from the grommets and push the pole through the sleeve to remove it.
- Detach the two (long poles) from the four corner grommets.
- Carefully push the long poles through the pole sleeves making sure that they do not separate inside the sleeves.
- Begin to fold the tent by joining the two “head end” corners and two “feet end” corners together, then fold the corner ends together again, and again until the tent is laid out in a strip about a foot in width.
- Carefully compress and roll the tent until it fits in the included Drawstring Stuff Sack.
WHAT YOU NEED TO KNOW
Periodically check the tent fabric, zippers, stake-out points, and trekking pole contact area for signs of stress or tears and repair any damage before continued use. To increase your shelter's longevity, we recommend regularly cleaning your zipper.
Proper storage techniques increase the durability and longevity of Dyneema® fabric.
- Remove all contents inside the tent.
- Zip closed both the inner and outer door.
- Loosen all guy lines and remove your ground stakes.
- Remove your trekking poles and any loose debris from the outside of your CrossPeak 2.
- Evenly fold, then gently roll the tent to compress it into your drawstring stuff sack.
The CrossPeak 2 is an ultralight, two-person, 3-season single wall tent designed to provide temporary outdoor shelter.
The CrossPeak 2 is NOT an Alpine, Mountaineering, or four-season shelter. This is not an emergency shelter. Avoid hazardous weather and terrain if possible before bringing this tent into the backcountry.
Use of this tent for purposes other than those listed here is not recommended by Hyperlite Mountain Gear and voids our Guarantee.
Take the time on a dry, sunny day to spot-clean any areas that need it. A soft damp cloth and a mild soap (non-detergent and non-oil based soaps work well, do not bleach). Air-dry your tent by leaving it out to hang-dry. Make sure your tent is completely dry before long term storage.
Click here for more tips.
Products can be returned or exchanged up to 30 days from the purchase date. And after 30 days, we’ll issue a gift card. (If you’ve purchased your product from one of our authorized dealers, you’ll have to reach out to that dealer for a return or exchange). Click here to start the returns process.
Store your CrossPeak 2 Tent uncompressed, in a dry place, and with minimal fluctuation in temperature if possible.
Refer to the product information pages for feature videos that can help you through the process.
If you’re out on the trail when a mishap occurs, email us as soon as you can. We will work with you to get a repair made and back to you on the trail as soon as possible.
If there’s something custom, or unique, you’d like done to your gear, or you want a repair made that’s above and beyond the normal stuff covered in our Guarantee, also reach out to us.
Click here to send us an email about repairs. Please include a photo or other visual explanation of what needs doing, and we will get back to you with a timeline on when you can expect your gear back to you (typically 2-3 weeks).
SAFETY
Anchor your tent properly at all times to reduce the risk of loss or injury to the tent or occupants. Avoid campsites that present the possibility of avalanches, falling rocks or tree limbs, flash floods, lightning strikes, strong winds, and other potential hazards to reduce the risk of damage or injury.
- Proper site selection is important for your safety.
- This tent is not a toy. To prevent the danger of choking or suffocation, keep this tent away from babies and children.
- This tent is not fireproof.
- Keep your tent away from all open flames and heat sources to prevent the possibility of melting or burns from sparks and falling embers.
- Familiarize yourself with the different adjustments to maximize comfort and protection.