


Words and Photos by Jeff Wohl
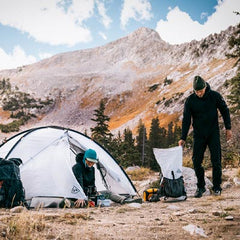
 It was a beautiful Fall evening in the mountains of Wyoming, and Nikki and I were just starting to get ready for bed. Sasha, one of our dogs, was curled up adorably on a sleeping pad. All of a sudden, a squirrel started scolding just outside our UltaMid shelter. Sasha exploded off the pad, bound and determined to catch the little seed lover.
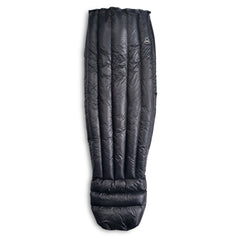
Unfortunately, in her enthusiasm as she sprinted off, her toenail opened up a 4-inch rip in my inflatable sleeping pad. However, I knew I did not need to let this be the end of a comfy trip. With a little time and a few simple tools and techniques, I’d be back to sleeping in luxury for the rest of the trip.
Being able to repair your gear in the field can keep you from having to end your expedition early, or, if ending it isn’t an option, you can at least make it more comfortable for the remainder of your time out. With only a few repair additions to your pack and a little practice, things like hail damage to a Dyneema shelter, a leaking pad, or a torn pack, like most mission-critical gear, can be fixed well enough to keep you going.
Having a dog claw open up a 4-inch hole in an inflatable sleeping pad might seem like an impossible repair, but it is quite achievable for any outdoor enthusiast.
GET READY TO SAVE THE DAY, SLUGGER


I start by baseball stitching the edges together to close the rip.
Next, I clean the entire area with alcohol. If you have an alcohol pad in a repair or first-aid kit, that will work, but so will a little denatured alcohol on a small piece of cloth.
Scrub well.
My next step is to apply a layer of Aquaseal or a similar type of sealant over the stitching area only.
If I have the option, I try to purchase the Aquaseal+UV because it cures faster in sunlight.

Once my sealant is fully dry, I apply a patch of ripstop tape that is larger than the entire stitched area by roughly ¾” on all sides, and rub it for a few minutes so the heat of my hand activates the glue. I like to round the corners of the patch so they don’t catch and start to peel as easily.
Then I Aquaseal the edges of the ripstop tape patch. (If you’re using regular Aquaseal, this might be a project you start in the morning during a hiking day and allow the Aquaseal to cure on the top of your pack throughout the day.)
I’ve done many of these, and they all hold well. You can use the same method for repairing your shelters when they get torn, or just the baseball stitch to sew up your hiking pants.
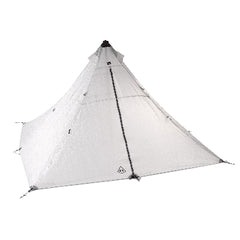
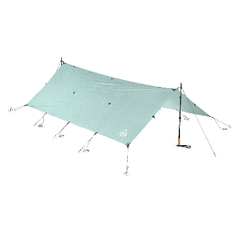
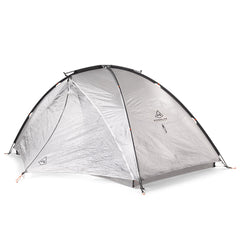
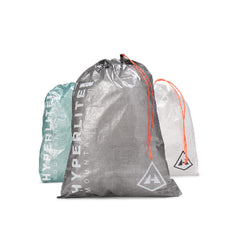
HMG offers small Dyneema Repair Kits, but Tyvek tape works for patching Dyneema shelters, too, if that’s what you have around.
Lightweight backpacking gear is expensive and resource-intensive to make. You should not let some damage be the end of its useful life. Show off your repairs with pride: keep the gear alive!

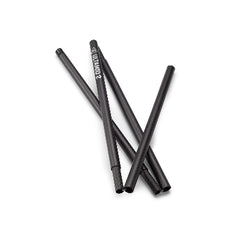
WHAT’S IN MY REPAIR KIT
-Ripstop repair tape (6 to 10 inches, depending on the length of the trip)
-1 small tube Aquaseal
-A small piece of cardboard with about 15 feet of nylon thread and two needles
-Coil zipper slides in several common sizes
-18 inches Tyvek tape (Maybe more if a longer expedition)
-Small tube of superglue
-Assorted sleeping pad patches (They often come with your pad for small punctures.)

Jeff Wohl grew up in Wyoming and has been backpacking since he was 5. He has taught for NOLS since the late 90s, leading trips with teenagers to astronauts. He also guides for Andrew Skurka Adventures. He loves taking personal trips with his partner, Nikki, and their many rescue dogs.