We first published this guide to making your own ultralight first aid kit a little over a year and half ago. In the lead up to this year’s backpacking and thru hiking season, thought we’d revisit it to see if anything we’d learned in the meantime might be worth adding. That, after all, is the first rule of traveling safely in the backcountry; pay attention, build experience and expertise, embrace learning and above all, be open to adaptation.
The good news is that the original piece—written by our friend and long-time Hyperlite Mountain Gear supporter Andy Dappen of www.WenatcheeOutdoors.org—holds up. After consulting some other backpacking buddies who also happen to be medical professionals, we’ve got a couple new suggestions, and an edit or two.
All-in-all, the message is still the same: You can save yourself some clams and some weight by building your own ultralight first aid kit. Read on to learn how, and figure out what should—and shouldn’t–go into it.
The Pluses and Minuses of Ultralight First Aid Kits
When trying to rid your pack of unnecessary pounds, the standard backcountry first-aid kit is worth putting under the microscope. With some scrutiny it’s actually pretty easy to shed nearly a pound of weight and a liter of bulk if you’re willing to make your own ultralight first aid kit.
Most pre-packaged kits are geared toward various tiers of trip duration, and the number of people you have in tow. As with most over-the-counter products designed to be convenient and one-size-fits-many, they tend to do neither well. You can choose from “extended trip” kitchen sink packages or smaller “multi-day” or “weekend” options, and size up or down according to the size of your party—theoretically.
The central idea behind these products—that starting out with more than what you actually need is safer—is flawed in the first place. First aid kits are like bike seats; too much cushion can actually be a bad thing. Why? Well, mostly because we humans are foolish creatures when it comes to having “enough” of anything. If you start out with “a lot” of any given supply, you’re more likely to pay less attention to how you use it as you go. Then, after chipping away at what was once a monumental supply of band aids or medical tape, you may eventually end up in a situation where you suddenly don’t have enough. “Set-it-and-forget-it” has no place in the realm of first aid or wilderness medical scenarios.
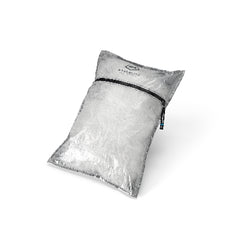
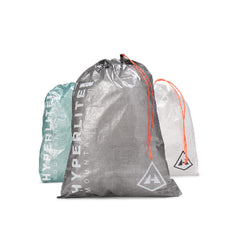
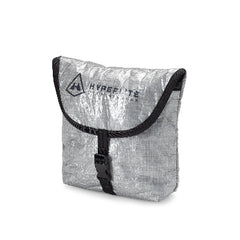
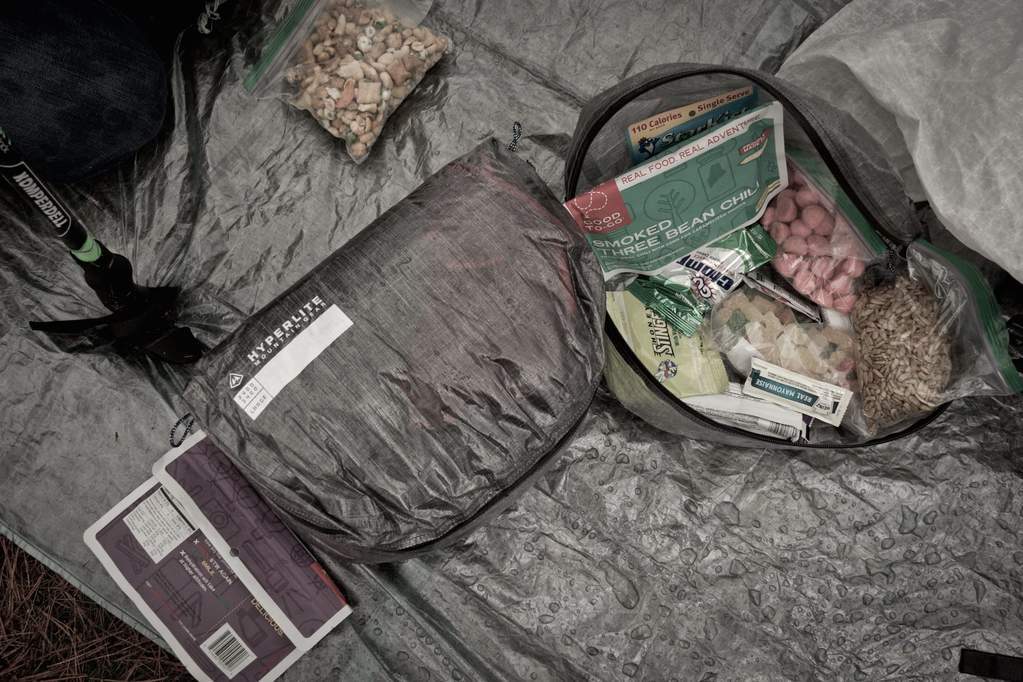
If you already have a big heifer of a kit that you for some reason love, you could most likely shed a significant amount of weight just by ditching its case in favor of a stuff sack. What you lose in compartmentalization of your supplies, you’ll gain in through-the-bag visibility if you go for one of our DCF8 (formerly cuben fiber) stuff sacks.

“But what about those new-fangled, pre-packaged ‘ultralight’ first aid kits certain big box retailers are selling now?” Good question. A) Again, the bag(s). There are two, a silnylon outer pouch, and the actual DryFlex packaging. That’s the bad kind of redundancy, and it’s only necessary because the silnylon will eventually wet out over time. If you get out with any kind of frequency, both bags are going to end up in one place, and one place only before long… the landfill. And B) If you’re going to cut back on medical supplies to cut down on weight, would you rather do it based on your own calculations, or ones made on your behalf by someone in a cubicle somewhere?
Because here’s the thing: eliminating anything from your pack is a calculated risk. As with any other piece of gear, there may be rare occasions where you find yourself lacking something. If you plan effectively, it won’t be anything critical that you can’t McGyver your way out of.
Lightning up your pack could also actually make you less likely to get hurt in the first place. You’ll not only travel farther and faster, your balance will be better, you’ll be less fatigued and less likely to make a careless misstep. So while the recommendations below might technically leave you slightly less prepared for emergencies, your odds of incurring injury may actually be lower. An ounce of prevention, as they say, is worth a pound of cure.
Here are Andy’s original recommendations, with a few additions of our own:
The One Tape
The one item I now always carry for injuries, whether I’m out for a trail run, a long rock climb or a several hour day hike, is a partial roll (amounting to five or six feet) of Leukotape P. This tape, made by BSN Medical, is the best thing going for dealing with blisters (the adhesive is amazing), small cuts (make band-aids from strips of tape with a little toilet paper added where you want gauze) or larger cuts (cover the wound with TP or cloth and secure this firmly in place with wraps of tape).
One Plus One
For slightly longer trips where I want more first-aid versatility to dress cuts, scrapes, abrasions, and punctures I add a few feet of Cover-Roll Stretch tape rolled up on itself. This is incredibly versatile adhesive bandage is also made by BSN Medical and uses the same, super-tenacious adhesive that’s used by Leukotape P mentioned above. Cover-Roll Stretch is slightly wider than the tape, breathes better, has a slicker surface and stretches. You can cut band-aids and patches of different sizes, add toilet paper or cloth as gauze, press the product on over the wound and know that patch is going to have great sticking power. With these two items you can dress virtually any small wound.
A Stitch In Time
For longer trips when I’m going to be out several days—especially if I’m climbing, mountaineering or backcountry skiing where the odds of incurring a more serious wound are greater than when hiking a wide trail—I’ll add a suture kit to my usual ultralight first aid kit. This adds a few super light needles with suture thread and a hemostat for driving the needle. Of course you (or someone in your party) needs to know how to suture if this addition is to be of any value, so don’t add these supplies if you or one your partners is not willing to suture a laceration.
Sutures are a tough topic. Odds are, unless you do them frequently (like, every day a la ER docs, you’re going to do them poorly). Also, even if you Rambo your way through them without topical anesthetic, it’s going to suck. Ultimately, backcountry medicine is about getting out of the field. If you have a gash that’s bad enough that it definitely needs stitches, i.e., it won’t stop bleeding, evacuation needs to be the priority—not suturing.
One addition here: superglue. It’s light and good for closing small wounds on the edge of that might-need-stitches line. You definitely want to clean any wound well, especially if you’re going to seal it—and also keep a close eye on it for infection afterward.
Anti-Infection
For day trips I don’t worry much about antiseptics–I’ll rinse a wound with water in the field to clean it and then treat it with antiseptics or ointments once home. On multi-day trips, it’s good practice to use some antiseptic swabs to help disinfect a wound after it has been washed and an antibacterial ointment (single use packets like these .5g triple antibiotic ones are a great alternative to lugging an entire tube) to place on the wound while it is being dressed.
In most cases, drinking-quality water is sufficient for irrigating wounds. A hydration bladder squeezed to create pressure can make for a decent irrigation device in a pinch—pun intended.
Pill box
On top of what is needed for treatment, I usually add a mixture of pills to the kit for long day hikes and overnight trips. These help deal with a number of minor and major emergencies. I usually carry the pills in old 35mm film canisters. While I suspect medical professionals will advise against this, I mix several pills together in one film canister but mark the canisters well so I won’t confuse which pills are which.
I usually carry:
• Ibuprofen: General pain reliever. Reducing fever. Reducing swelling in infection, injury and sunburn.
• Pepto-Bismol pills: If you end up with digestive ailments and/or ‘the runs’, this will usually get you back to the trailhead.
• Diphenhydramine-Benadryl-Antihistamine: Use for allergies and anaphylaxis. Helps for itching, nasal and sinus congestion, nausea, sea sickness, insomnia and anxiety. Well tolerated for a wide spectrum of activity and use. Causes drowsiness, which can be a good thing if you want to use one to help you sleep in the backcountry.
• A prescription pain reliever for moderate to severe pain. These are controlled substances and hard to get. If you’re traveling abroad, keep the pills in original containers as proof you’re not peddling drugs. What I carry tends to be left over pills from the surgeries of friends or family members. Major change here: As someone who found out the hard way that he’s allergic to Demerol (read: 24-hour nightmare hallucination scenario following an appendectomy), I would recommend extreme caution surrounding pain killers in the backcountry. Even stashing your own post-op pain meds is a roll of the dice—there’s a reason for pharmaceutical expiration dates. Same goes for the muscle relaxants below. –ed. Two recommended options: 1) acetaminophen with oxycodone (e.g., Percocet), 2) acetaminophen and hydrocodone (e.g., Vicodin). Both of these can be combined with ibuprofen (ibuprofen will help swelling more). Both can cause constipation and/or upset stomach, so take them with fiber and lots of water. Another note here: Aside from constipation, pain meds tend to also impair coordination and balance. Hiking, riding a bike, climbing or rafting with them in your system could very likely lead to compounded injuries.
• Cyclobenzaprine or Flexeril (RX): These muscle relaxants are good for acute muscle spasms–whether the spasm is from injury or a personal tendency to spasm. If you have a history of leg, back or neck spasms, carry one of these. (Keep in mind that Flexeril can cause significant drowsiness).
• An anti-diarrheal agent such as Imodium.
Lots of backcountry ailments have no solution other than time… or a helicopter. In the end having an ultralight, functional first-aid kit is mainly about what you carry, not how much you carry.

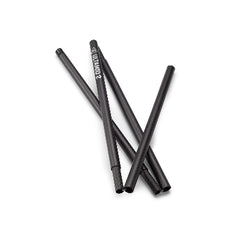
Seem a little rustic? As is always our recommendation, carefully consider your gear so that items can be used for multiple purposes, including first aid applications. The extra Hyperlite Mountain Gear UltaMid Pole Straps, for example, can be used with sleeping pads, trekking poles or the removable stays from your pack (a feature on all Hyperlite Mountain Gear ultralight packs) to splint an injured limb. Your ultralight first aid kit should fit into a size small DCF8 Stuff Sack or even a DCF8 Nano.
Photo & text courtesy of Andy Dappen of www.WenatcheeOutdoors.org, originally fact checked by Dr. Mark Shipman.
The post How to Make Your Own Ultralight First Aid Kit, Redux appeared first on Hyperlite Mountain Gear Blog.

