Words and Photos by Michael DeYoung @michaeldeyoung
Sunrise storm along the CDT near Wolf Creek Pass, Colorado. Camping in the alpine subjects you to the full fury of storms. But clearing storms at sunset or sunrise and approaching storms at sunrise, as is the case here, often result in the best and most dramatic light.
Let’s start with these two things. First, with all genres of photography, IMPACT matters, EFFORT doesn’t. It doesn’t matter how exotic the location is, how gnarly the trail was, how far you hiked, or how awful the weather was. None of those things directly result in a good photograph. Secondly, HOW you use your camera matters more than WHAT camera you use. Improving your photography involves more emphasis on learning light, composition, design, and technique and not on what is the best gear. We all know by now that getting top of the line backpacking gear doesn’t guarantee a smooth adventure. Good gear is not an alternative to trail skills, knowledge and sound judgement. Photography is no different. Weigh, space and quality are a consideration for adventure and backcountry photography including long distance hikes so I will talk about camera systems first before suggesting ways to improve your trail frames.
WHAT’S THE BEST TRAIL CAMERA SYSTEM?
Not to sound vague but there is more than one right answer and there’s no such thing as a single “best” camera for all backcountry, trail or adventure photography. Most serious photographers who carry everything under their own power into the backcountry use mirrorless DSLR systems with APS-C sized or “cropped” sensors along with interchangeable lenses made specifically for these smaller sensor cameras. That perfect balance between weight, performance, image quality and sensor size is different for each of us. As a commercial photographer of 30+ years I always struggle with reducing camera weight without sacrificing image quality. As a result, I don’t carry the lightest mirrorless body and lens, and focus hard on reducing weight with everything else I carry. This enables me to carry the camera I feel really fits my needs and shooting style without feeling burdened by too much weight.
Why not just use one of the latest smartphones? They are certainly better than no camera and if that’s all you have, you can certainly improve the impact of your imagery with the tips mentioned below with a smart phone. They do not, however, match the performance and versatility of a mirrorless DSLR camera system. There are more situations where you can make a really good photo or video with a quality camera system. Good photographers just don’t “take pictures.” They craft them and that’s where performance and speed matter.
There is more to image quality (IQ) than megapixels. Sensors found in the latest smartphones can have as many megapixels as some APS-C mirrorless cameras have but that does not mean IQ is the same. It is NOT. The number of megapixels your camera’s sensor has is only part of the IQ story. There is no standard size or depth for an individual pixel and they are not all equal. Many pixels crammed on to a physically small sensor means each pixel holds less information which can lead to poorer image quality in certain situations such as low light - the light I use the most. You don’t read much on photography forums and discussion groups about the A/D (Analog to Digital) converter that every camera has. It’s not as sexy as megapixel talk but the A/D converter is a big piece of the quality equation and long story short, you get what you pay for. Optical quality of lenses is also a significant factor in IQ. Lenses on the latest smart phones the size of watch batteries simply do not match the resolving power or focus tracking capability of a quality lens on a performance camera system. Performance, ergonomics and manual control functions of a smartphone don’t even come close to that of a DSLR system. They perform poorly in backlight (my favorite landscape lighting) and you can’t use lens hoods. The JPEG files from smartphones are just awful and having access to RAW files, now a feature on some of the latest phone models, doesn’t compensate the other shortcomings mentioned above.
SUGGESTED CAMERA SYSTEMS - FOR ADVENTURE AND TRAIL WORK WHERE WEIGHT AND SPACE MATTER
I’m reluctant to recommend specific camera models because my suggestions will be outdated well before the principles of this blog will be. That said, if I didn’t have a need for images large enough for big print uses, my first choice would be Olympus and OM Systems cameras with their 4/3 sensors. Their flagship models have fantastic ergonomics and performance features. They have an excellent line of quality and lightweight lenses designed for their cropped sensor cameras. Fujifilm APS-C bodies are a close second with an amazing selection of smaller high quality lenses as well. Overall, their bodies are slightly heavier than Olympus models. I used to shoot with Sony APS-C sized bodies, the A6600 specifically. The weight and optical quality were good and on par with the others I’ve mentioned. The ergonomics and performance of their APS-C bodies just didn’t work for me and after several years of use and trying to adapt I went back to the brand I’ve used for decades for commercial work, Canon.
WHAT’S IN MY CAMERA POD?
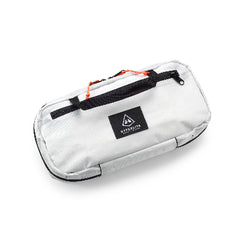
My current backcountry camera body is a Canon R7 with a 15-30mm f/4.5-6.3 IS STM or RF24-105mm f/4.7-7.1 IS STM lens. I carry this minimalist outfit in the HMG Camera Pod. It is simply the lightest, most protective and rain resistant chest holster I’ve used for backpacking, hiking and ski work.
I like to photograph whitewater boating, trail running and skiing, so occasionally on backcountry adventures I need a high performance action camera and not just something for landscape work. My R7 with the 24-105 STM version (36-157mm full frame equivalent), is 2.5 pounds, 8 ounces heavier than my previous Sony camera with similar lens. Since Canon is my primary gear for commercial work, I can use other RF lenses and flash system for shorter hikes or on river trips. For complete waterproof bags for smaller cameras, I use Sagebrush Dry Gear bags - another small specialty company from Kake, Alaska that makes various high quality and heavy duty dry bags suitable for full immersion on water based trips.

A small and high performance camera outfit is essential on a packraft trip if you want to capture action shots. This is the Colorado River through the Grand Canyon with Lauri running North Canyon Rapid. On river trips I have to pack my gear in a waterproof and lightweight bag that can withstand a long swim underwater.
For short backpack trips and river trips I take a lightweight sturdy tripod. On long hikes or canyoneering trips I leave it behind. That means I have to sacrifice night work or creative long exposure work. If I am shooting a lot of lifestyle and portraits, I will also pack a lightweight flash or speedlite.
SIX TIPS TO IMPROVE YOUR TRAIL PHOTOGRAPHY
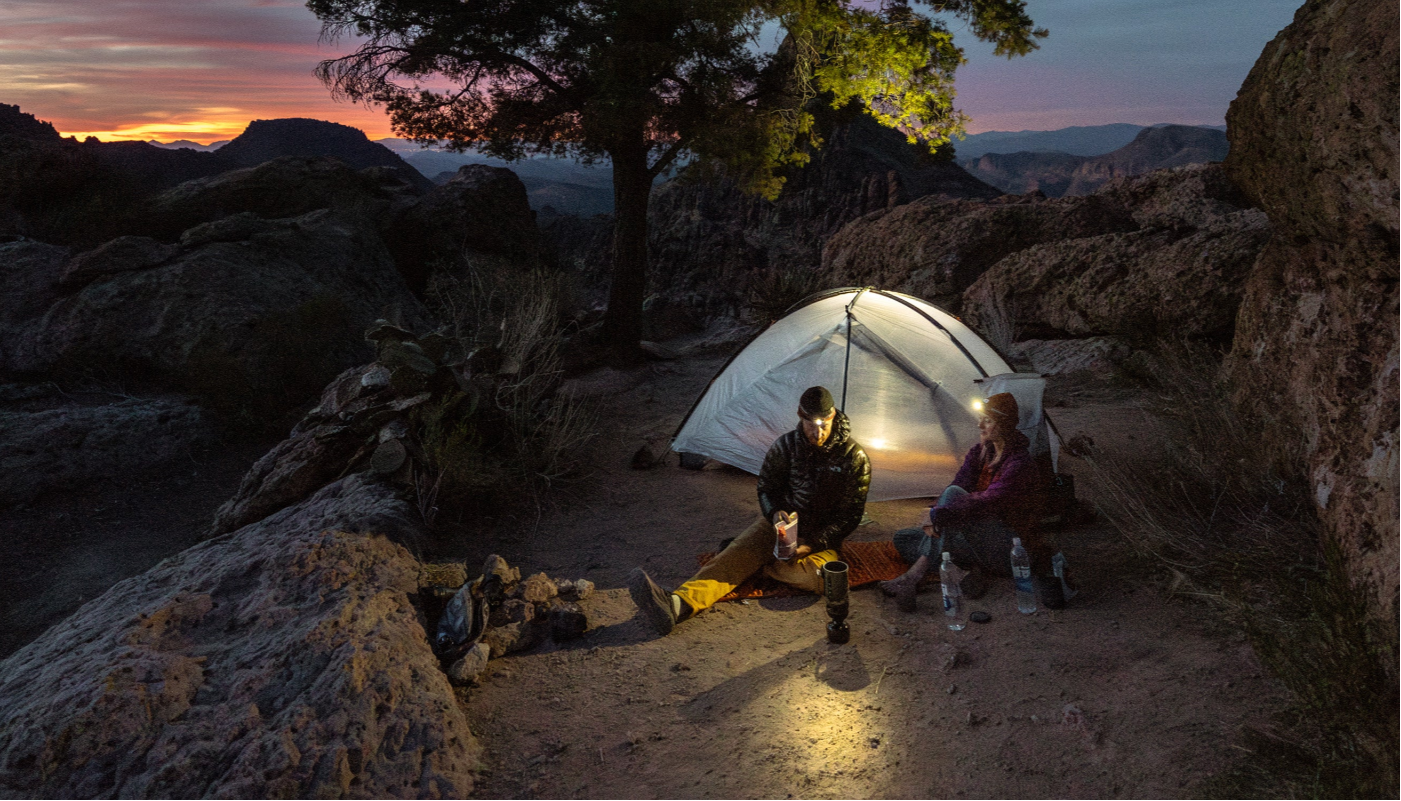
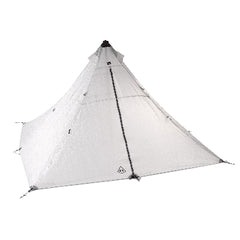
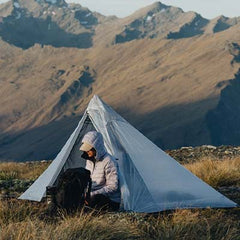
- Camp high or in open areas and get up early for sunrise. The best light is on ridges where you get the very first or last rays of sun and even better, a sunrise sky with colorful glowing clouds. It doesn’t always work out, but when possible, I try to plan my camps so I’m at a photogenic location each night. I want to be at the most photogenic locations during the best light and sometimes that takes a little planning and schedule modification. Over the years, I’ve had 15 Backpacker Magazine covers and dozens of landscape and adventure images published in national and international calendars. Most of those images were from sunrise or early morning. That doesn’t mean you can’t get killer images from sunset or other times of the day. I just don’t want to be sleeping in during the most productive time. Camping high does leave you exposed to winds and or the full furry of storms which is why we use a bomb proof tent like the Ultamid.

Camping high and getting up early can result in some magical backcountry landscapes especially after a clearing storm as was the case here. In Alaska in July, sunrise comes early. If we camped in the valley below, I would have missed this sunrise view high in the Talkeetna Mountains.
2. Simplify your compositions and show less in each frame. The idea of a landscape image isn’t to “take it all in” and show as much of the sweeping view in front of you as possible in one frame. When you do that nothing in the image is showcased or emphasized. I see way too many images where half the frame is uninteresting foreground, like brush and dirt, or bland skies that lack color and texture and where the main subject is distant. Dark or busy foregrounds and bland skies take visual emphasis away from your main subject. Your main subject, such as a mountain range, field of wildflowers or colorful skies, should occupy the most space in your image. If you photograph a subject with a wide angle lens, the main subject has to be big, colorful, graphic, and occupy lots of space in your image. If there is nothing in your foreground, zoom in on what really matters and show less in your frame.

This is the Mt. Rainier and the Goat Rocks Wilderness along the Washington PCT at sunrise. When photographing landscapes with a wide angle lens, everything in your frame should contribute to the image with color and design. Large areas of uninteresting foreground or bland skies take away from the impact of the image.

On bland cloudy days I try to eliminate the sky and show less in the frame. I didn’t need to show the entirety of the Grand Canyon to get the idea of what winter backpacking is like.
3. Don’t put your horizon or subject in the middle. This makes both stills and motion images very boring. When you place your horizon line low, you’ll emphasize the sky, so if there are lots of pretty clouds, don’t fill half of your image with a featureless and dark foreground. Put your horizon high in the frame and you emphasize the foreground so make sure there is something killer and colorful below the horizon like a big field of wildflowers, a thousand migrating caribou, etc.

I’m always looking for candid lifestyle moments that show trail life. Along the PCT in the Sierra.
4. Shoot what the light dictates. If you are serious about capturing the best backcountry landscapes, action or lifestyle then in certain situations and locations you have to prioritize waiting for the best light over making miles. I get mile fever too. Making miles means less food and weight to carry in between resupply points. Sometimes it’s worth slowing down and waiting so you don’t miss the best light on a nice location. Overcast days with bland skies and clear days with harsh mid-day sun are not suitable for showcasing sweeping landscapes. Overcast days are the time to photograph forest interiors, streams and waterfalls or portraits of people where bright uninteresting skies are eliminated from the photo. Sweeping landscapes and backcountry action and lifestyle images are best done in sunrise or sunset light. And the best sunrise or sunset light is right after clearing storms. Embrace bad weather as it usually leads to great images. Most people spend only 10 seconds taking a photo. Hurried images look hurried and good photography, like any other craft, takes time to create quality. One of the best creative skills a photographer can have is knowing where to be to capture the best light. Sometimes that means stopping early and waiting.

You don’t always pass by very scenic locations in the best light. Compare this image to the next one. Here a hiker, Lauri, walks below Banner Peak in the Sierra along the PCT. This is during harsh mid-day light, not very compelling and doesn’t really showcase this scene. The hiker barely stands out against the background. This was a pass that would receive great firs light in the morning. We capped our miles and camped here hoping to make a better image at sunrise.

This is the same scene as the previous image except at first light and with calm winds. My equipment was exactly the same. The only difference between this photo and the one from the previous afternoon is light and design. These things make a huge difference in image impact.
5. Photograph other adventurers. Selfies are easy but usually overdone. Photographing portraits, lifestyle, action, or all three of others sharpens your photo skills and makes you a better visual storyteller. Tell others’ visual stories, not just your own. I’m an introvert and love my solitude. I also enjoy the opportunity to come out of my comfort zone and connect with others and making authentic and candid images. Effectively photographing portraits or action of others has a steep learning curve but there is no better way to dive in than to practice in an environment that fosters instant camaraderie with fellow backcountry adventurers.

Cheri on a lunch break in the Grand Canyon backcountry. I try to have even light on my subjects with a non-distracting background.

Pierre at a high camp in the Goat Rocks Wilderness along the Washington PCT.
6. Don’t rely on postproduction and editing software to fix your images. One of the most cringeworthy sayings I hear other photographers say is, “I’ll fix that in post.” Post processing your images is part of the art form that was sorely missing during the film years, and I love bringing out the best of what I captured in my editing and post processing. The main purpose of post processing is to FINISH your images, not FIX them. Garbage in, garbage out still applies. You can’t fix bad light or bad composition and design, but you can skillfully bring out the best of what you captured. In addition, sharpening software only goes so far. Do everything you can right on location. Well-crafted images in good light usually require very little in processing to reveal impact.
