


Words, Photos, and Video by Jeff Wohl
 A remote canyon in the Southwest.
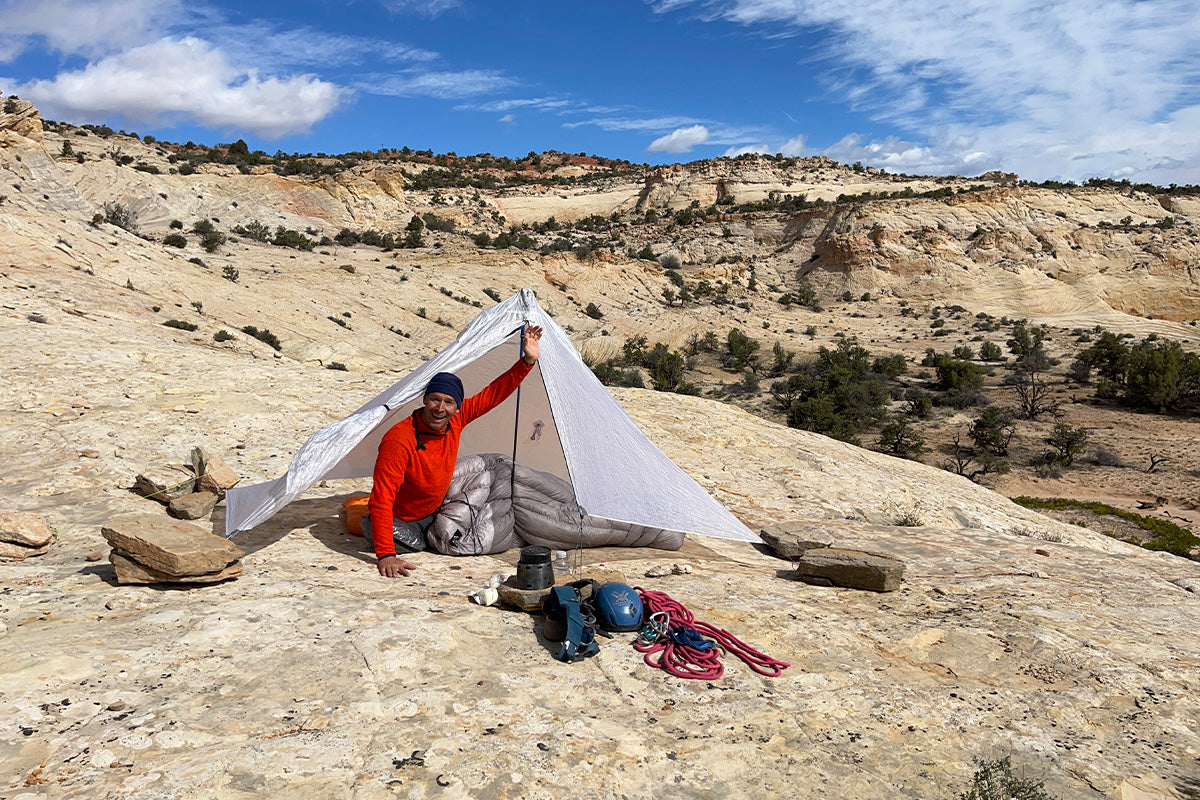
There is nothing quite like the clear skies, slickrock travel, and beautiful colors of spring and fall travel in the Southwest deserts of Utah, Arizona, and New Mexico. I also love getting to the Southwest for expedition-style technical canyoneering. In traditional backcountry canyoneering, most people haul in with heavy, gear-loaded packs, set up a base camp, and run technical canyons as day trips. I really enjoy using lightweight backpacking techniques to explore canyons during the course of a travel route instead of setting up a base camp. For these types of trips, keeping my base weight down is really important when I am adding the weight of a full coverage 1mm wetsuit, a couple of hundred feet of rope, and rappelling gear.
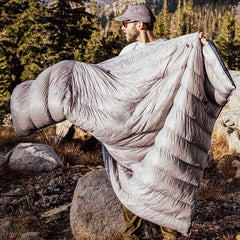
The weather in canyon country is often great–most of the time I just sleep out, which is both beautiful in its simplicity, and the stargazing is amazing.

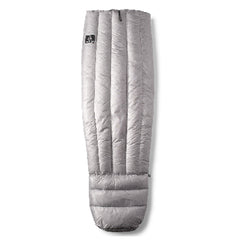
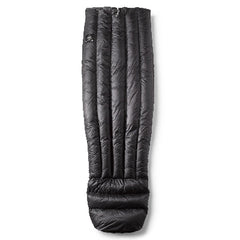
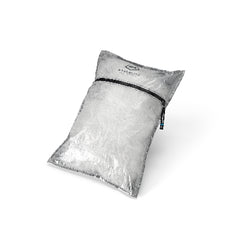
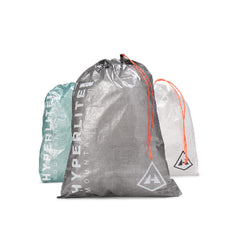
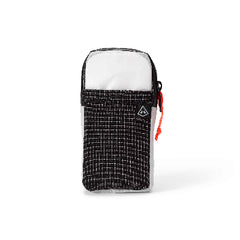
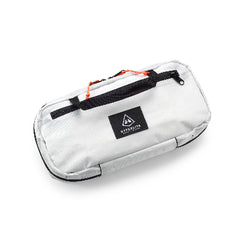
HMG Pods keep my stuff organized, so I don't lose anything if the wind comes up when sleeping out.
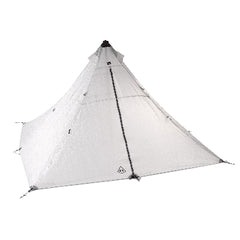
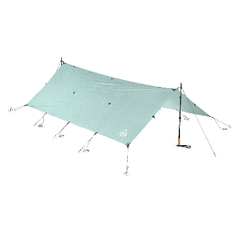
Even so, on nearly every trip in canyon country, I get a few days of rain, wind, and even snow. In the past, I would carry just a flat tarp to save weight, but recently I switched to using an Ultamid-type shelter because of the necessity of rock-anchors in areas where tent stakes won't work. Most of the storms I experience come not only with rain, but also a lot of wind, and when you're setting up a shelter on slickrock, using piles of rocks to anchor the corners and ridge on a flat tarp just takes a whole lot more rocks to secure it than a mid-style shelter.

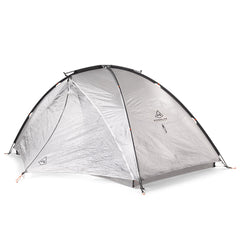
HMG Ultamid1 in Utah (Smooth rocks can be extra tricky, I will be adding more)
I love sleeping on slickrock whether it's under the stars or in my shelter. Slickrock is about the best "Leave No Trace" surface out there–it's very comfortable, makes it easy to look for "pokies" that could pop a pad, and helps me avoid damaging any of the fragile, cryptobiotic soils that are so important for southwest ecosystem, and are easily crushed and take years to recover.
Setting up shelters in much of the Southwest takes adaptive techniques. Even when I am not setting up on slickrock, the sand is usually too soft to reliably hold a tent stake.
PREPARING MY SHELTER
When I'm preparing for any trip, whether it's in the Southwest, or Wyoming in winter, or backpacking in the Sierras, I check my shelter to ensure that I have five to six feet of guy-line attached on each corner and all tie-out points, including the points high up on the shelter body. The high tie-out points are especially important to help to resist those stout gusts of wind. It's definitely worth it to have my shelter weigh a bit more with long guy-lines in order to be prepared when the weather comes in. Skimping on cord is not where I want to save weight! One of the things I really appreciate about the HMG shelters is that the high tie-out points are standard, making these shelters more weather-worthy than some others I have used.

Before the trip, replace all tie-outs with 4-6' of cord.

Add cord to high tie-out points.
LINE LOCKS AND KNOTS
If I have a shelter that has "line locks" (plastic pieces for tensioning corners) that I want to keep using, I will remove the original short piece of cord and thread my five to six-foot cord into the line lock. I then tie a loop at the very end of the line closest to the tent, which comes out of the bottom of the line lock. This allows me to use the loop like normal when using tent pegs (just with an extra-long tail), but when I need to loop around a rock, rock piles, tree branches, or snow anchors, I have the needed extra cord. A great, simple way to use this extended cord around an object is to pull the tent stake loop of the cord so it is right up against the shelter, then bring the long tail around a rock and back to the tent stake loop by the shelter, using that loop for a truckers' hitch.

Pull tail under rock and back over the top to the stake loop you made in the guy-line.

Tie off with a single ½ hitch with the bight, so you can easily untie it like a shoelace.
SITE SELECTION AND SET UP
I look for a spot in the slickrock that's nice and flat, sometimes with a small depression to create a comfy cradle, but if I expect rain, I tend to look for a flat or even slightly domed spot, so the water drains away from my shelter. But probably the most important thing I look for in a site is a spot that has easy access to a lot of medium to large rocks!
I think the biggest mistake most people make in setting the shelter on slickrock is really underestimating the amount of rocks required to support their shelter in a storm. A handful of rocks will do when the night is clear and calm, often leading people to a false sense of security. When that thunderstorm rolls in with 15-20 mph winds, it is going to take 50 to 60 pounds of rocks per corner to support your shelter well, and I've had to get up in the night and double that weight in howling winds!
I start by gathering my first structural rocks and arranging them in the approximate footprint location of my shelter.

Layout the shelter with the first few rocks and adjust for squareness.
If I can find a single large rock that I grunt to pick up, that's a great start, but if I don't, I look for a bunch of smaller rocks to essentially build a rock cairn. When using smaller rocks, I start my cairn by looping my cord around a rock that ideally has some good square edges so the cord won't slide off, then tie it back to the loop at the other end of the guy line. I get my first small rock set in all four corners and adjust the footprint to make sure the shelter is nice and square. Getting any mid-type shelter square before you erect the pole will give you the most headroom, evenly tensioned sides, and best weather resistance.
Once I have the footprint square, it's time to start doing my outdoor CrossFit. I keep bringing rocks and pile them both on the cord and in front of the first rock until it feels very secure, and then, because I'm always wrong, I add a few more rocks to be sure.
After that, I stand the pole, making sure the shelter is nice and taut. Then I build anchor cairns for all the supporting tie-out points. For example, on this Ultamid 1, I had rocks for the rear tie-out point and the door, and for all high tie-out points (not shown here).

All low tie-out points secured and ready to add cairns for high tie-out points.
If I've picked a good spot with easy access to appropriate rocks, it shouldn't take me much more than 15 minutes to set up a mid-type shelter using this method. With a flat tarp, it will probably be twice as long because of the extra support needed.
Another trick you can do with your guidelines rigged in this fashion is to extend the stake loop all the way out, so you have the loop end away from the shelter, and toggle in a tent stake by wedging it against a small medium rock, and build your cairn in front of the stake. With this method, you can still use the line-lock to adjust the tension.

Tent stake toggle before adding lots of rocks.

Tent stake toggle anchor finished.
If I've done all this setup correctly, I crawl in and sleep well at night without worrying about my shelter, moving, shifting, or coming down on me.
Finally, when I depart the next day, I make sure to spread the rocks around in a non-geometric pattern, so it is not obvious that a shelter was there, adding to the next person's wilderness experience and decreasing the risk of concentrating human impact and adding to the magic and beauty of camping in canyon country.
Jeff Wohl has been backpacking for over 40 years, teaching backpacking and technical travel for the last 25 years. In addition to many personal expeditions, Jeff teaches for NOLS and guides for Andrew Skurka Adventures.