Words and Photos by Tina Haver Currin
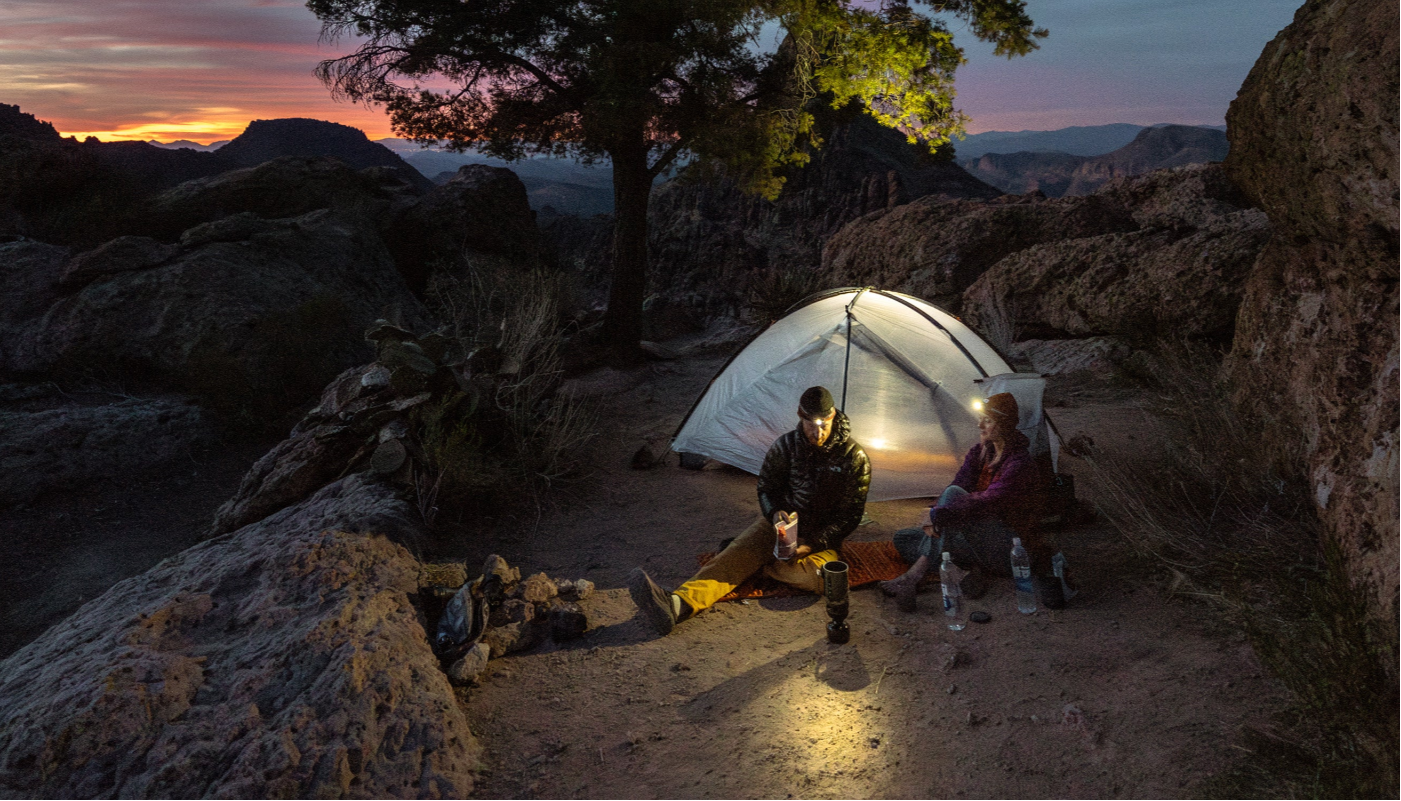
Like Newton's third law of motion, what gear goes out must inevitably come back in. And if you're anything like me, you pull goodies from your gear closet with a lot more zeal than when you put them away. Or maybe you're like my husband, who lets his belongings marinate in compression sacks or car trunks or shipping boxes for much longer than they deserve. But the more money—and time, because let's be real, the research rabbit hole can swallow an afternoon faster than a Netflix binge —I spend on my collection, the more interested I am in the proper care and maintenance of the things that keep me warm, safe, and dry.
Of course, every new purchase we make impacts the wild places that we love, and the better gear we can buy (and the better care we can take of that gear), the less impact we will have over time. But a smart investment in a high-quality, durable product only goes so far. After it has left the manufacturer's hands, all of the dirt, sand, sweat, and grime is on us–and our stuff. That's literally and metaphorically, y'all.
HOW OFTEN TO WASH?
I always do a thorough degreasing after a long thru hike, but if backpacking doesn't swallow up an entire season, you should still plan on giving the things you frequently use an annual refresh, especially if you're about to stash something in long-term storage. Even if things don't look particularly dirty, I've found that smells aren't content to merely linger; given free range and a little privacy, they like to take over completely.
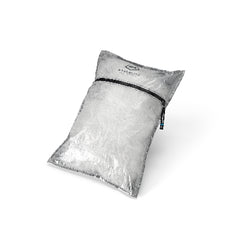
Remember to store your sleeping bags uncompressed and give your tent a little room to breathe, too, to prevent mildew growth and unnecessary fabric abrasion. Don't store your gear in direct sunlight or moisture-prone areas, and keep it covered if you can. I have a few plastic bins for this purpose, but an old pillowcase can also serve double duty as an at-home stuff sack.
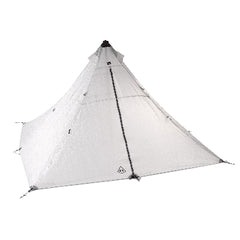
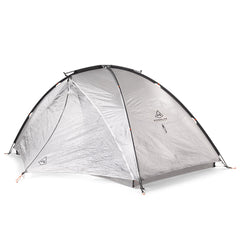
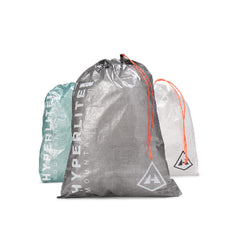
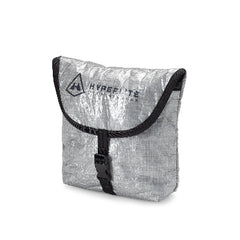
WASHING YOUR DYNEEMA COMPOSITE FABRIC (DCF) TENT + STUFF SACKS
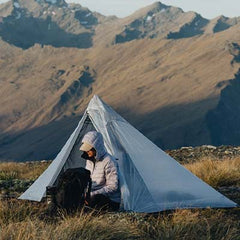
One of the greatest things about DCF is how unfussy it is. There's no technical coating to worry about, and it doesn't sag or stretch when wet, which makes clean-up a snap.
When I know I won't be out for a while, or I've had a particularly weather-prone adventure, I throw everything into the tub with lukewarm water and a mild soap and manually agitate the gear, making sure to flush out the nooks and crannies. Then I drain the tub, rinse everything thoroughly with cool water, and hang it to dry. A little preventative maintenance goes a long way. On the Pacific Crest Trail, I often showered with my sleeping pad and ground cloth, which totally kept the funk at bay, wasn't OCD, and didn't annoy my trail mates at all.
What you might screw up: Not much. Just use Tech Wash or Dr. Bronner's instead of laundry detergent, refuse the temptation of direct heat (like from a dryer), and make sure your gear is good and dry before you store it—a necessary habit to form whether you're washing or not.
WASHING YOUR DCF PACK
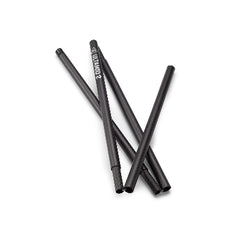
Washing your pack is a lot like washing your tent but done with less frequency and a little more elbow grease. Before it goes into the tub, I release every zipper and give the pack a good shake to dislodge any stray leaf litter, Tootsie Roll wrappers, etc. Next, I remove the aluminum stays and drop them into the water either inside or out, depending on where I need to focus my efforts. I usually pay the most attention to areas that absorb sweat, like the hip belt and shoulder straps. After I rinse everything with cool water, I hang the pack upside down to dry overnight.
What you might screw up: Have patience here, as your pack will likely take a few rinse cycles to run clean. With the padded mesh, dry times are longer, too. Don't expect a white bag to return to its former glory. Embrace the blemishes—they tell your story.
WASHING YOUR HIKING CLOTHES
Polyesters and other synthetic fabrics are easy to care for with sports wash, but they will eventually hold odor over time, no matter what miracle you try to perform. Wool—my personal favorite—is a bit more delicate but stays fresher longer, meaning that you don't have to wash it quite as often. Always wash on cold (we're just into cold washing in general, right?) and hang to dry. Down puffies can be washed on delicate with specialty soap and dried immediately on low heat. Many rain shells actually require regular washing and drying to activate the DWR coating, so check your model for specific care instructions.
What you might screw up: Learn to decipher this incredibly arcane method of care instruction and/or take pictures of your tags before you cut them off. Use proper soap for the job.
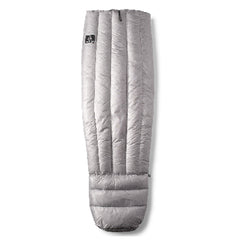
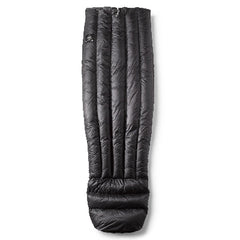
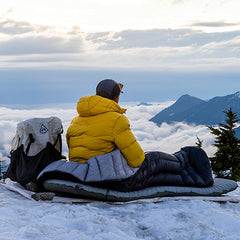
WASHING YOUR DOWN SLEEPING BAG OR QUILT
Sleep systems are the big bad boss when it comes to gear maintenance, but I've found this reputation to be unfounded. Does it take an entire day's worth of low-key work to make it happen? Yes. Will it completely revitalize one of your most important pieces of equipment? In my experience, also yes. Totally worth it.
For the purposes of this writeup, I washed one bag following the manufacturer's instructions—again, in a tub—and one bag (gasp!) in my washing machine.
To follow the manufacturer's instructions: Like the rest of your gear, you're going to wash your sleeping bag in a tub using lukewarm water and a specialty down wash, like Nikwax. I use gloves. Don't overdo it with the soap, because each and every sud you put in eventually needs to vacate the premises, or else it can damage the down. Set yourself up for success by using less.
Given the field stressors of rain and condensation, it's ironic that one of the most difficult parts of the process is actually getting your bag wet. A quality sleep system relies on the interplay of feathers and air, and both of those things float. One trick is to put your bag into a stuff sack and then submerge it so that the water has a chance to saturate the compressed material without all of that air getting in the way. Another method is to get in the tub and gently walk on it like you're stomping grapes. Personally, I prefer a more hands-on method, starting from the back of the bag and carefully squeezing, kneading, and compressing towards the front, removing air and agitating to wash as I go.
Once the bag is completely submerged, I let it rest for 15 minutes in the soapy mixture before agitating it again and draining the water. I repeat the process until the water runs clear and no soapy bubbles remain. It usually takes about three "wash cycles," but this part goes quickly.
What you might screw up: Use down wash, but not too much. Be careful any time you move a saturated sleeping bag. When in doubt, rinse again.
DRYING YOUR DOWN SLEEPING BAG OR QUILT
If you've ever been amazed by how lightweight a down bag can be, you'll be even more amazed by how heavy a saturated one is. After washing, gently squeeze as much water from the baffles as you can, taking care not to strain the delicate stitching, especially on an ultralight bag. This means no dramatic movements and no lifting without support. I like to squish everything into a loose ball before scooping it up with a shopping bag, squeezing it again, and carrying it to the dryer.
Choose a no- or low-heat option, max out the time, and let the dryer do its thing. Cast a periodic glance to make sure nothing is terribly tangled or askew, and once the exterior fabric is dry—for me, this takes about three hours on a low-heat cycle—it's time to start working on the down's loft. The easiest way to do this is to toss a tennis ball in with the bag while also manually breaking up any clumps that have formed towards the top, bottom, or corners. Repeat the process, checking and fluffing every hour or so until the bag is completely dry. Depending on your dryer, this may take eight hours or more.
You'll probably think that your bag is dry before your bag is actually dry. Once you're finally done, run it through an additional dry cycle. Then you're actually done.
To take the easy route: I'm not nearly as attached to my summer quilt, so I gave the washing machine method a go. After running the bag through a cold wash on delicate—remember: specialty soap, no detergent—it still reeked of a thru-hike, so I doubled up on the wash cycle with half as much soap. The spin cycle eliminated the need for squeezing, but I still used a shopping bag to transfer the quilt from one machine to another. I followed the same process to dry, and it took approximately the same amount of time.
Did it work? Yes, mostly. I noticed no abrasions or significant loss of loft compared to handwashing, though I don't think the bag got nearly as clean. Additionally, a lot of the down shifted and needed to be repositioned after drying, which meant I traded one tedious task for another. This method of washing also voids many manufacturer's warranties—including Enlightened Equipment's—so I'll probably continue to handwash in the future.
What you might screw up: Nothing! You've done it. Revel in the satisfaction of a hard job well done, and then store your freshly fluffed bag, uncompressed, in an old pillowcase or plastic container. Better yet, stick it in your pack and jump right into the next messy adventure. Sisyphean tasks appeal to us outdoorsy types, no?
Tina Haver Currin is writer, activist, and outdoors enthusiast based in North Carolina. From 2016 - 2018, she lived in a Sprinter with her husband, two cats, and a dog, climbing as many mountains, running as many trails, and seeing as many National Parks as humanely possible. Whether climbing in the Rockies, bushwhacking through Arctic backcountry, hiking deep within the Grand Canyon — or, most recently, thru-hiking the Appalachian and Pacific Crest Trails— she discovered the variety of experiences one can have in our wild spaces and the joy of sharing what she has learned with others. Tina currently spends her time writing, hiking, eating, and working as a ranger in the Blue Ridge Mountains.